Visual Studio Code with LaTeX
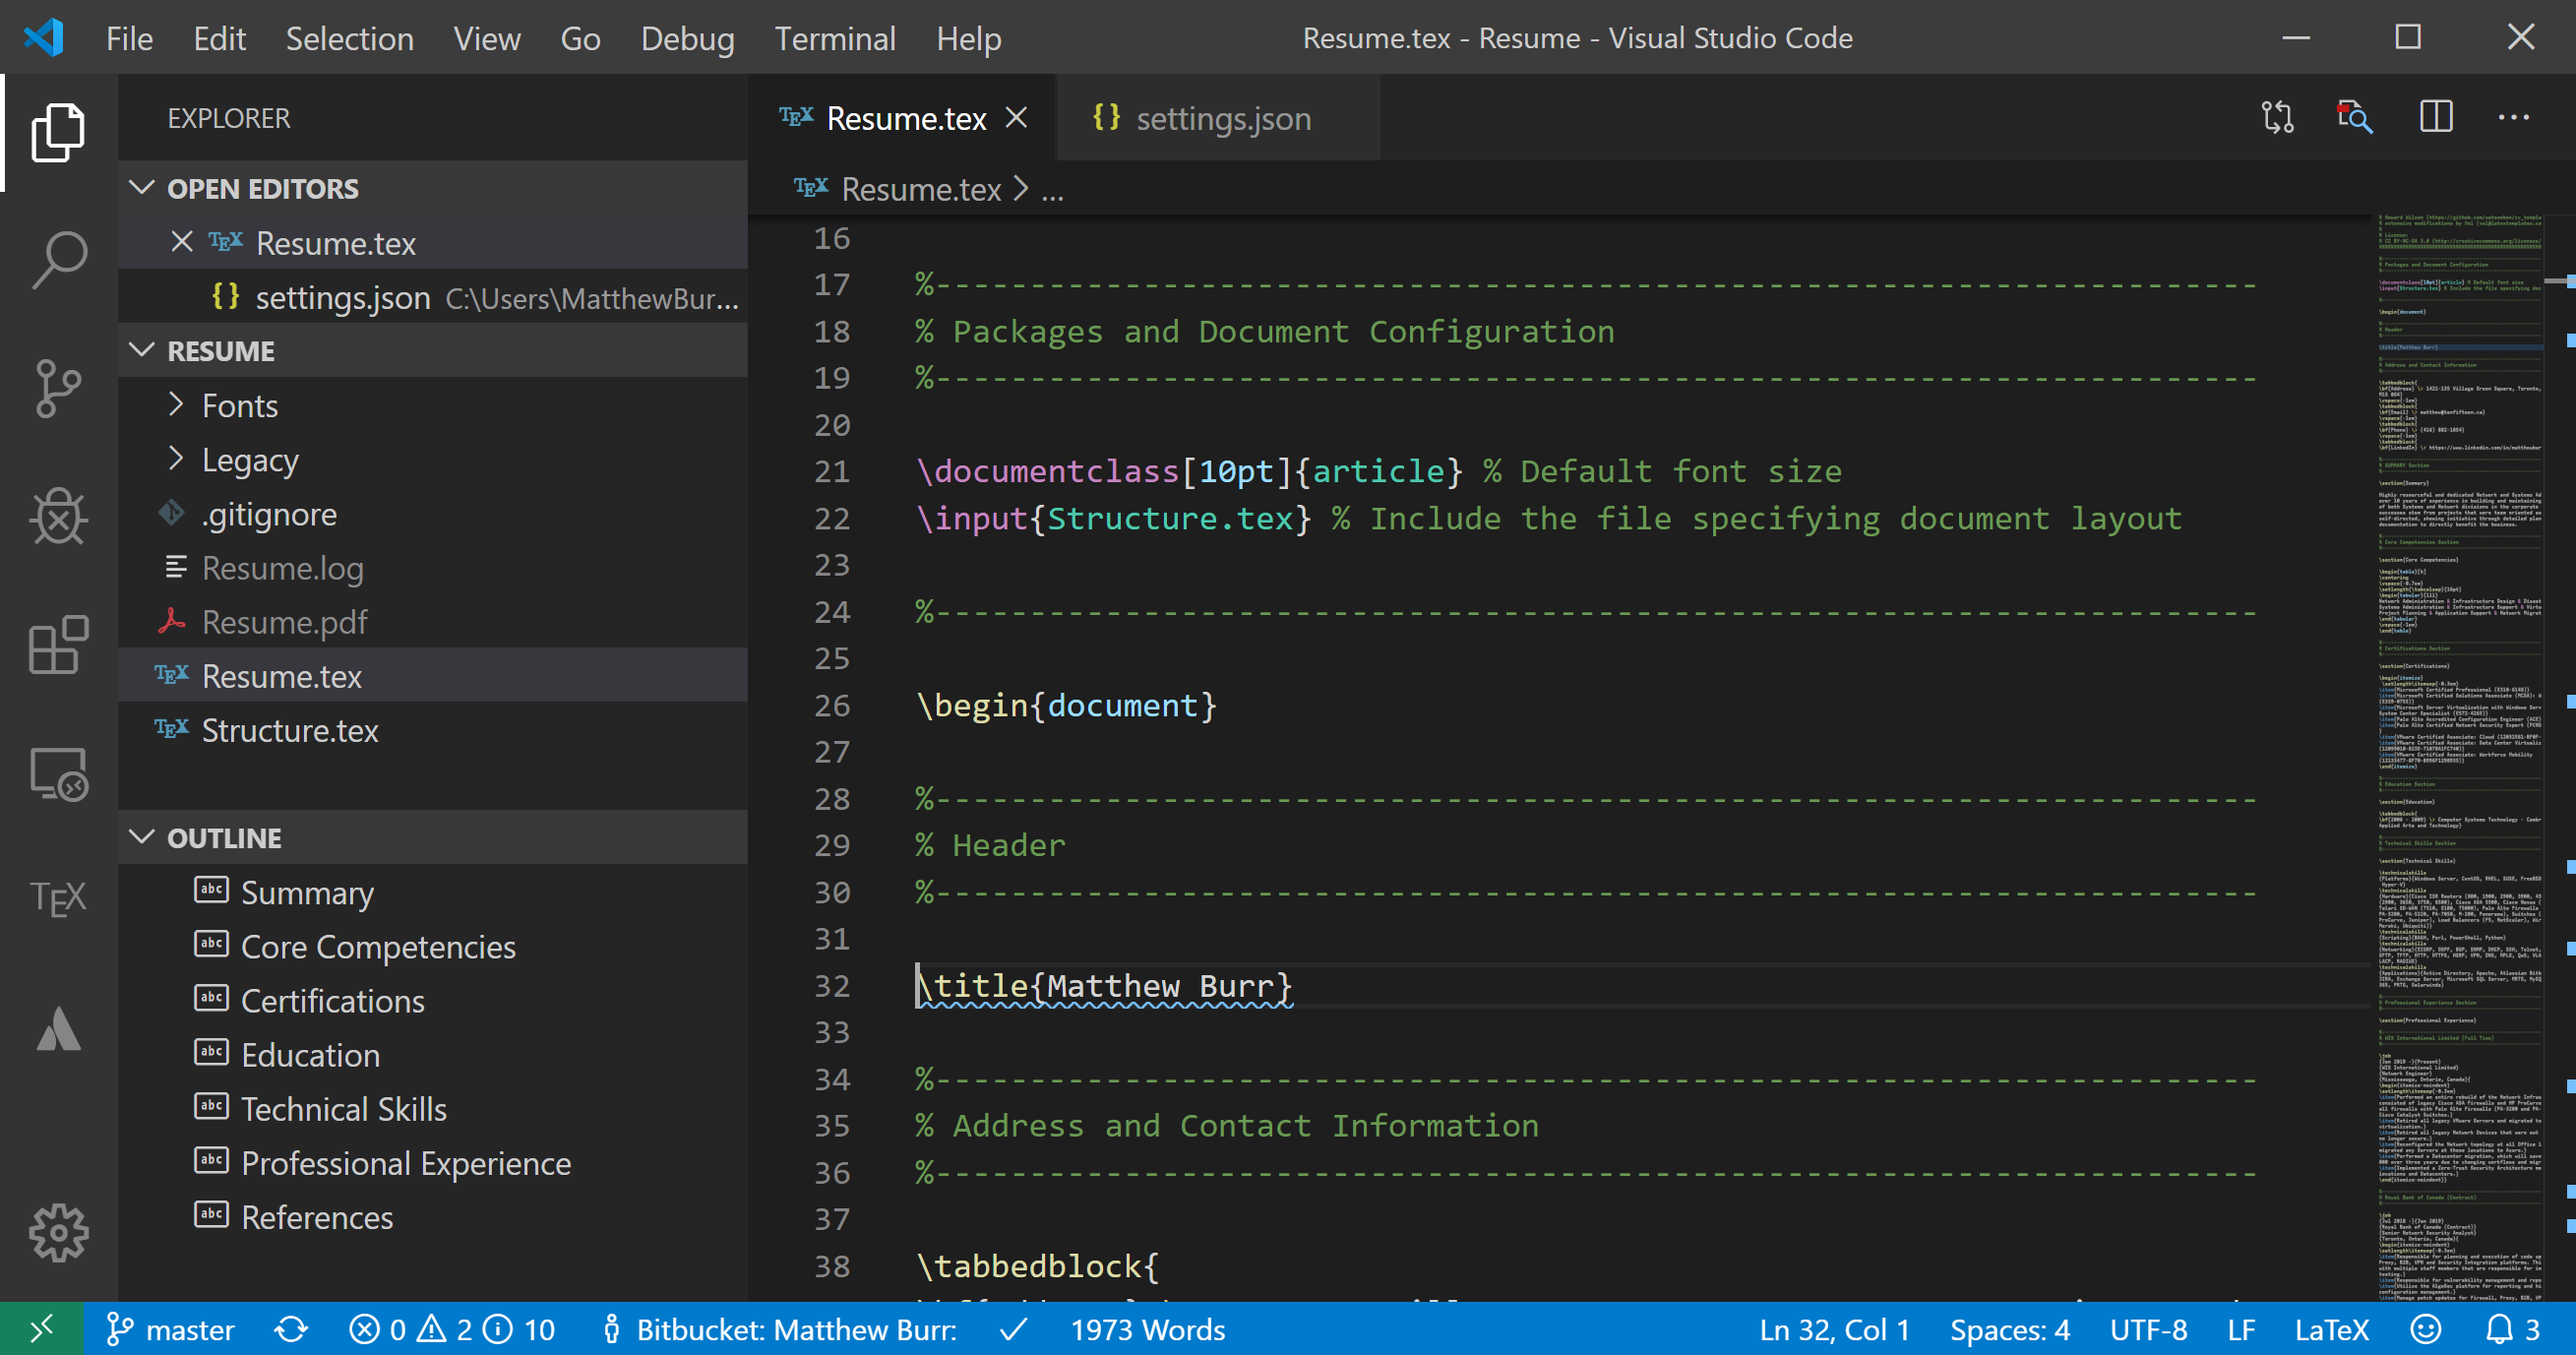
LaTeX is a powerful typesetting language that has been used for decades by people looking to create documents without needing to worry about the look of it. I have been using it for the last few years for important documents, and I wanted to integrate it with my favourite editor prior to undertaking a large project using it. It works very well with Visual Studio Code to create a very effective LaTeX editor that also integrates well with revision control plugins.
I have written a follow-up post about using Visual Studio Code with LaTeX, mostly about the extensions that I also use with it as well as with additional configuration items:
Visual Studio Code with LaTeX – Follow-up
Table Of Contents
Introduction
I try my best to make an effort to update my resume at least 2 or 3 times a year. Not necessarily because I am looking for a new job, but because I don’t want to forget about certain accomplishments. 2019 was a very busy year for me and for the first time in almost 10 years I didn’t update it once. The last time I updated it was in mid-2018, and at that time I had converted my resume from Word to LaTeX.
At the time I didn’t really have a good reason to use LaTeX for my resume, I just wanted to get a bit of experience using it. The biggest benefit to using LaTeX for my resume is the ability to use version control with Git. Office 365 has supported version control for a while now, but I have never been a big fan of it since I find it can create far too many snapshots and it is not always easy to search through everything.
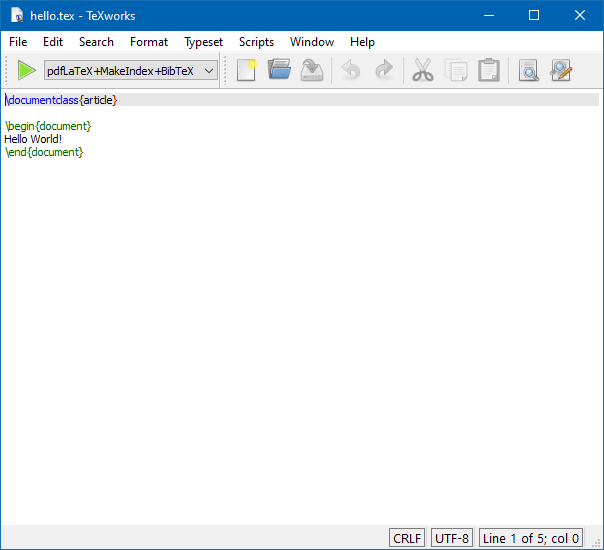
In the past I have just used LaTeX on Windows 10 with the MiKTeX package, using the included TeXworks editor. TeXworks is a very basic and lightweight LaTeX editor in nature that is fast and easy to use. I am working on a new project this year that I want to use LaTeX for, but it is going to be a lot more complex than a multi-page resume so I want to use something that is a bit more robust.
I have been using Visual Studio Code (VS Code) for the last few years and it is an amazing code editor and best of all it is free. For my usage, I have decided to use the LaTeX Workshop plugin, which also uses the LaTeX Utilities plugin. Since I am already familiar with MiKTeX, I decided to just stick with it over other LaTeX packages such at TeX Live. There is also a requirement to have Perl installed in order for it to work with the LaTeX Workshop plugin, and the quickest way to do that is to use a pre-built environment such as Strawberry Perl.
For this guide I am using Windows 10 Pro 1909 64-bit on my Workstation, and here are the versions of the other software as of the time of this writing:
- Visual Studio Code 64-bit v1.41 (System Installer)
- MiKTeX 64-bit v2.9.7269
- Strawberry Perl 64-bit v5.30.1.1
- LaTeX Workshop v8.6.0
- LaTeX Utilities v0.3.4
Installing Visual Studio Code
I won’t go into the installation of VS Code since it is fairly straightforward, and accepting all of the default options should be fine. When you download it there are three options for installing it, User Installer, System Installer and Zip. It is your preference, and no matter how you install it there should be no issues using the LaTeX plugins with it.
Installing MiKTeX
Like the installation of VS Code, I also won’t go into the details on how to install it since it is very straightforward to do. Just accept all of the default options and everything should work. There are two post-installation tasks to do, and one thing to confirm after installation.
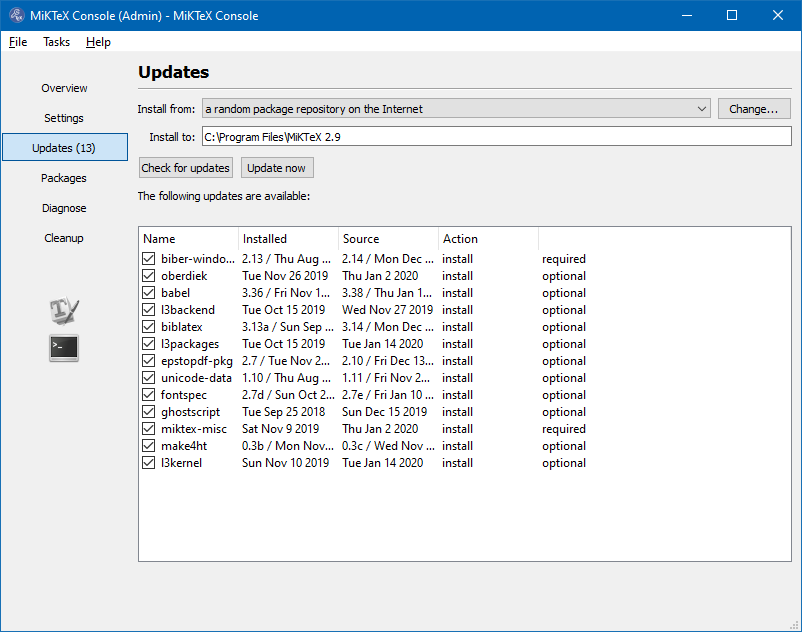
Immediately after installation the MiKTeX Console should appear prompting you to update packages. Click on the “Update now” button and let the packages update. It should prompt you to restart the console when it completes.
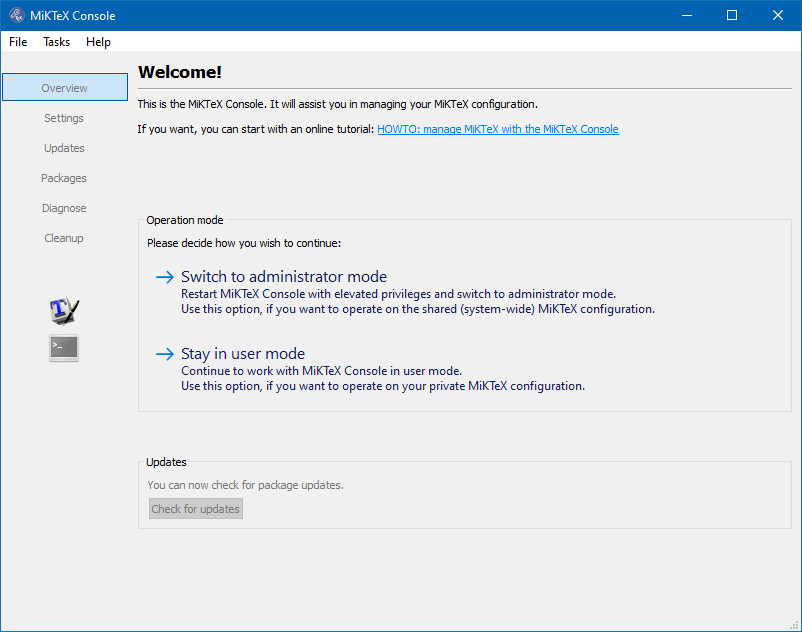
When the MiKTeX Console reopens, you should be prompted to select a mode of operation. This is your choice, but if your workstation has multiple users you should select the option “Stay in user mode”.
You should also take a moment to confirm that the MiKTeX executables have been added to the System PATH.
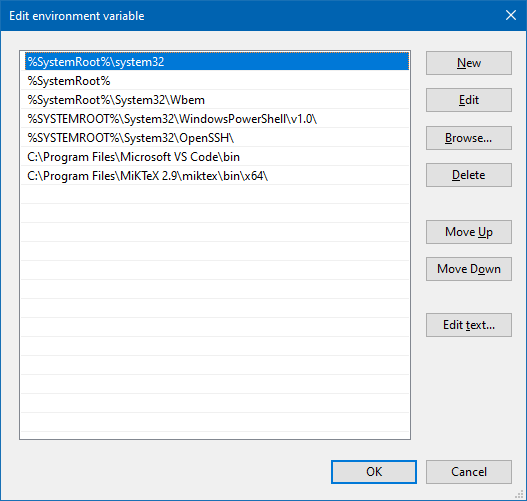
If everything looks good then proceed with installing Strawberry Perl.
Installing Strawberry Perl
For the installation of Strawberry Perl, accept all of the default options. When the installation has completed, the Strawberry Perl executables should also have been automatically added to the System PATH:
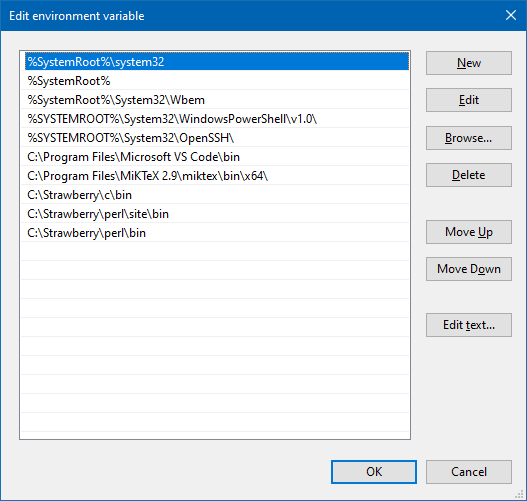
If the System PATH looks okay, then you can install the LaTeX plugins in VS Code.
It is probably a good idea at this point to logout and log back in to ensure that the PATH has been picked up correctly by your user account.
Installing LaTeX Workshop and LaTeX Utilities
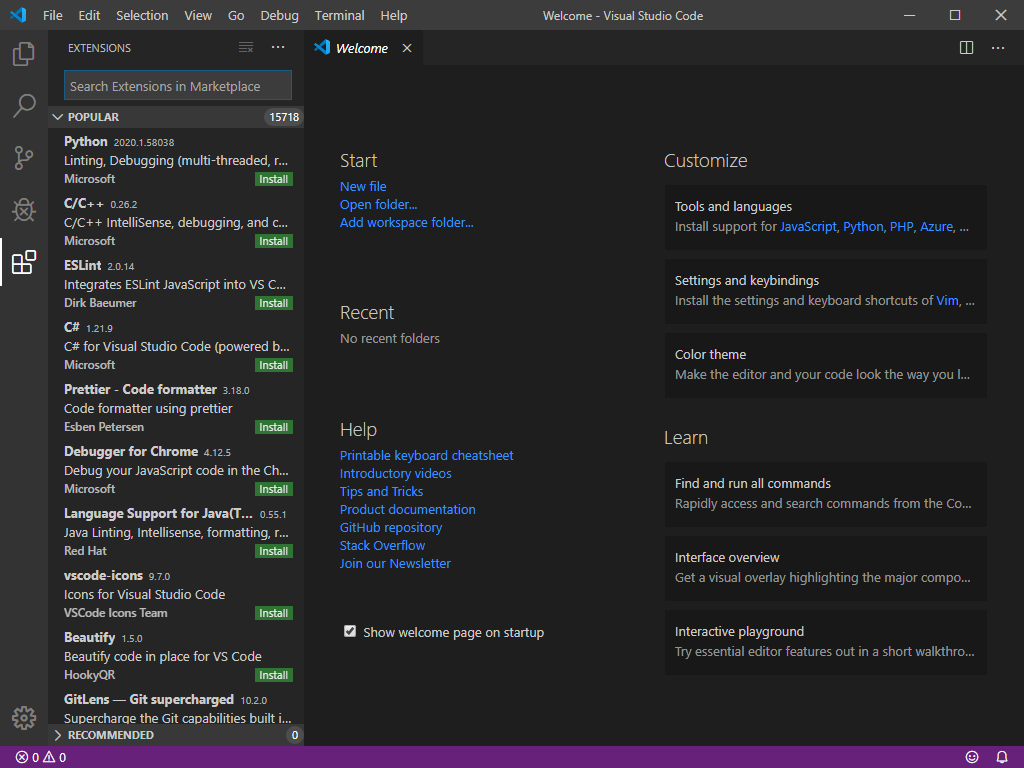
The two plugins can be easily installed directly through VS Code by going to the Extensions Marketplace window.
Search for “Latex” and it should bring up both extensions in the list. You can refine the search by searching just for “Latex Workshop” or “Latex Utilities”.
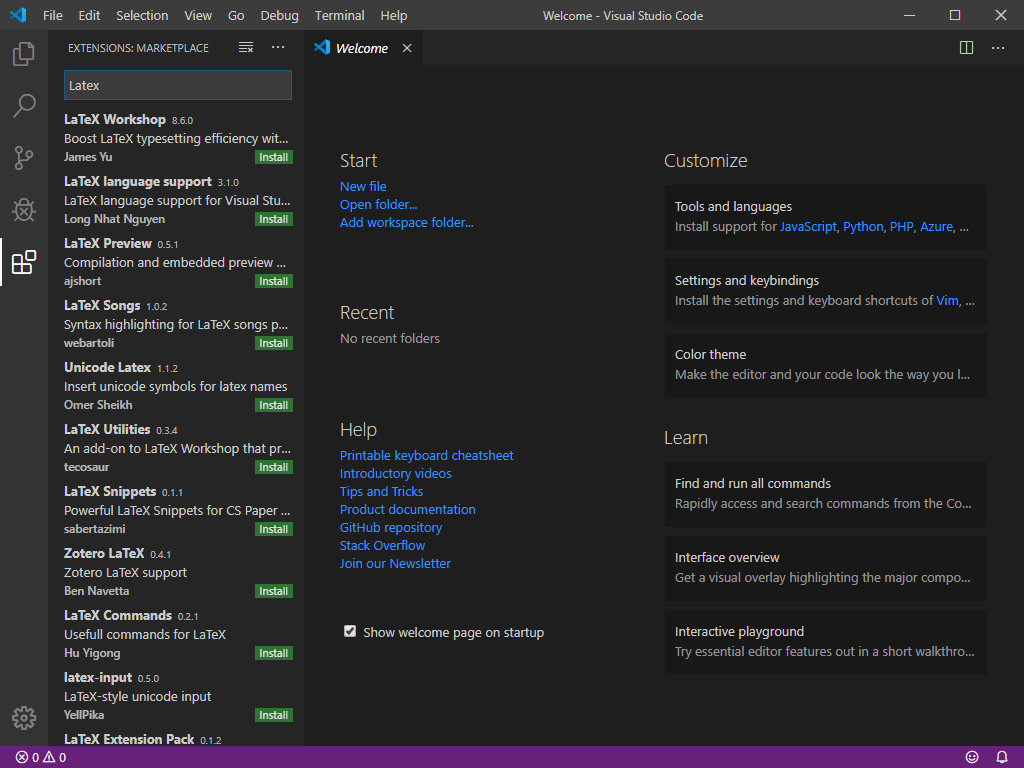
Click on “LaTeX Workshop” and then click the “Install” button to install the extension.
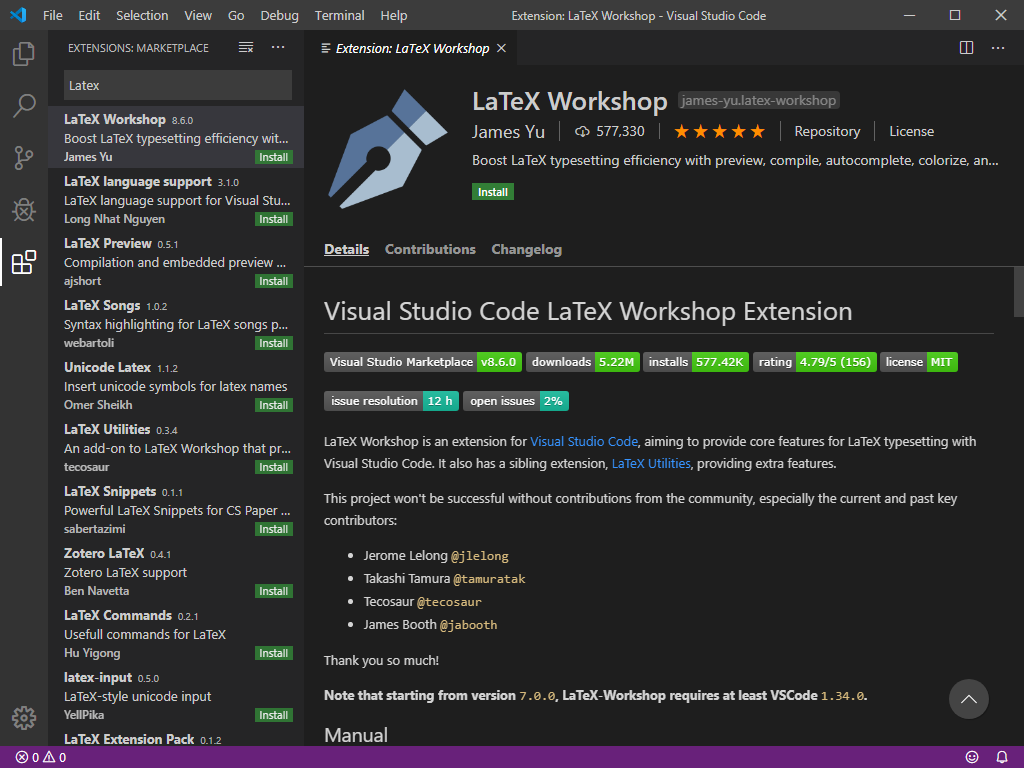
After the first extension is installed, click on “LaTeX Utilities” and then click the “Install” button to install the extension.
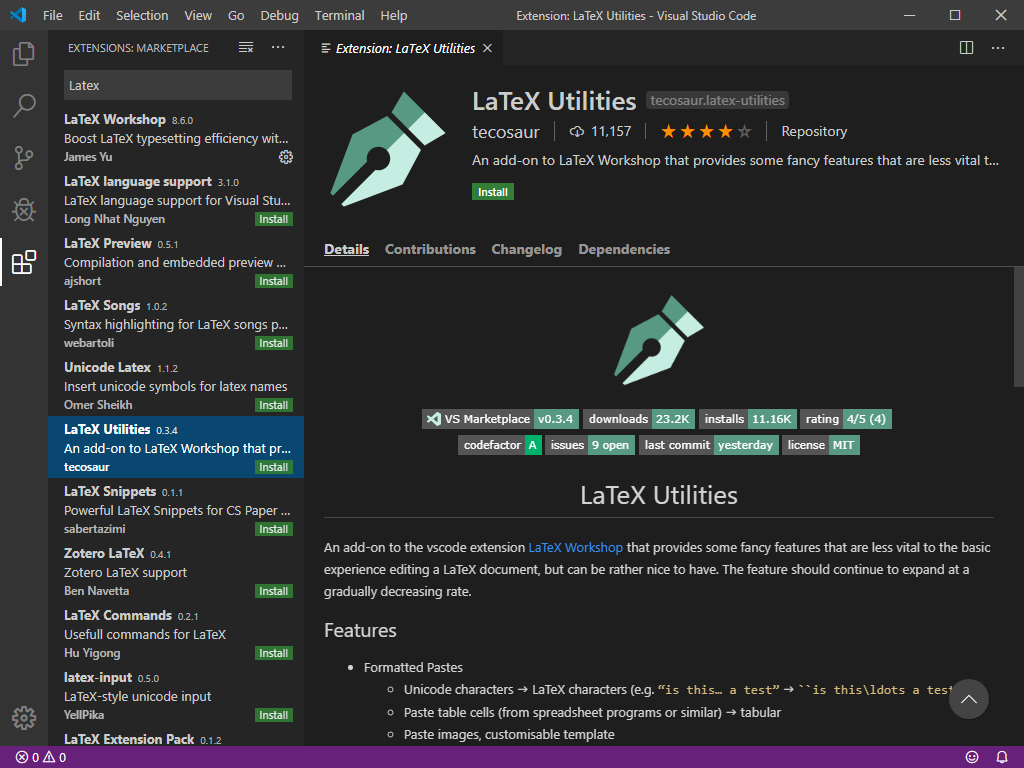
That is all there is to it to install both extensions.
Create a Basic LaTeX Document
To quickly test if the LaTeX plugins are working, create a new folder that will contain the test LaTeX document and create a new file called hello.tex in it. Here is a basic document that you can use to test LaTeX:
\documentclass{article}

\begin{document}
Hello World!
\end{document}
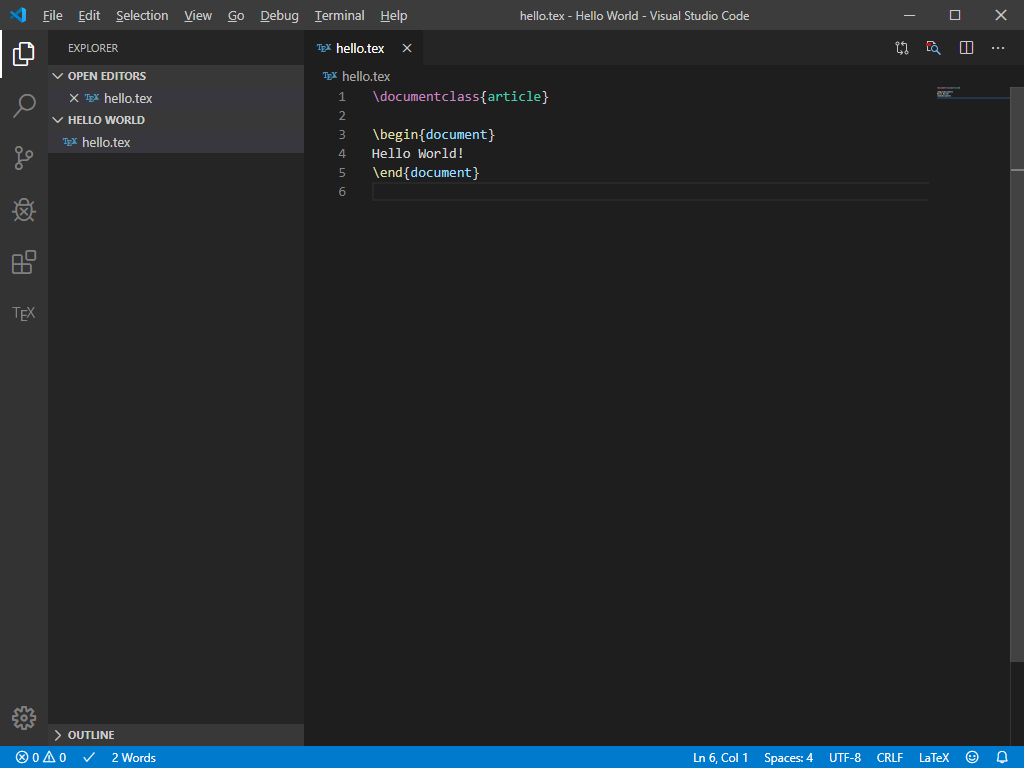
You can generate the PDF of the document by either using CTRL+ALT+B or by using CTRL+S. You should be prompted the first time on where you want the PDF to be displayed, the options being in VSCode tab, web browser and external viewer. If you choose to use the VSCode option, you should see the PDF in a split view.
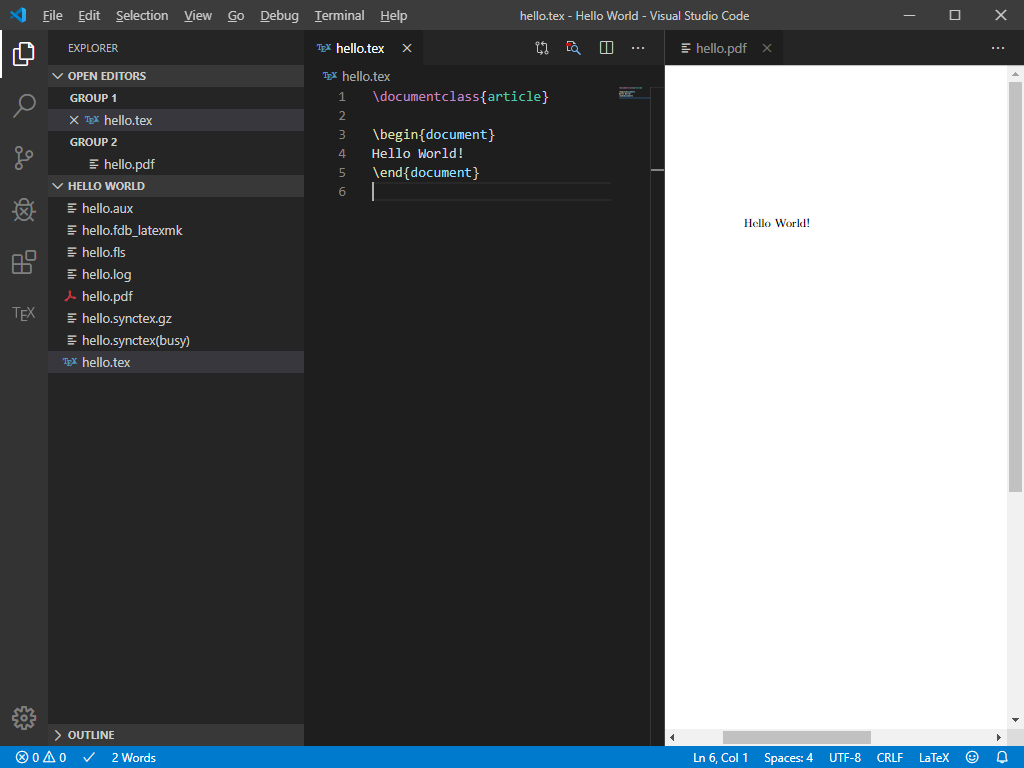
MiKTeX is a great tool since it will automatically prompt you to install any missing plugins if you reference them in your LaTeX document.
I won’t go into the details on how to do more advanced configuration with the LaTeX Workshop plugin. The plugin is very well documented in the LaTeX Workshop Wiki.