Visual Studio Code with LaTeX - Follow-up
I posted an article about using Visual Studio Code with LaTeX earlier this year and I wanted to do a follow-up with some of the additional extensions that I have been utilizing since then, as well as some of the extra configuration items that I have been using as I have made this environment my primary LaTeX editor.
All of the extensions that I have added can be found within Visual Studio Code. I have also linked the locations at the end of this post since there is additional information located at those sites.
Table Of Contents
Extensions
There are a few extensions that I use in addition to the LaTeX Workshop extension in order to make writing complex documents easier to do within Visual Studio Code.
Bookmarks
The Bookmarks extension does exactly what is sounds like, it gives you the ability to easily add bookmarks within your documents that are easy to search through. I have used this extension long before I used it with LaTeX, and it is very handy to have in VS Code.
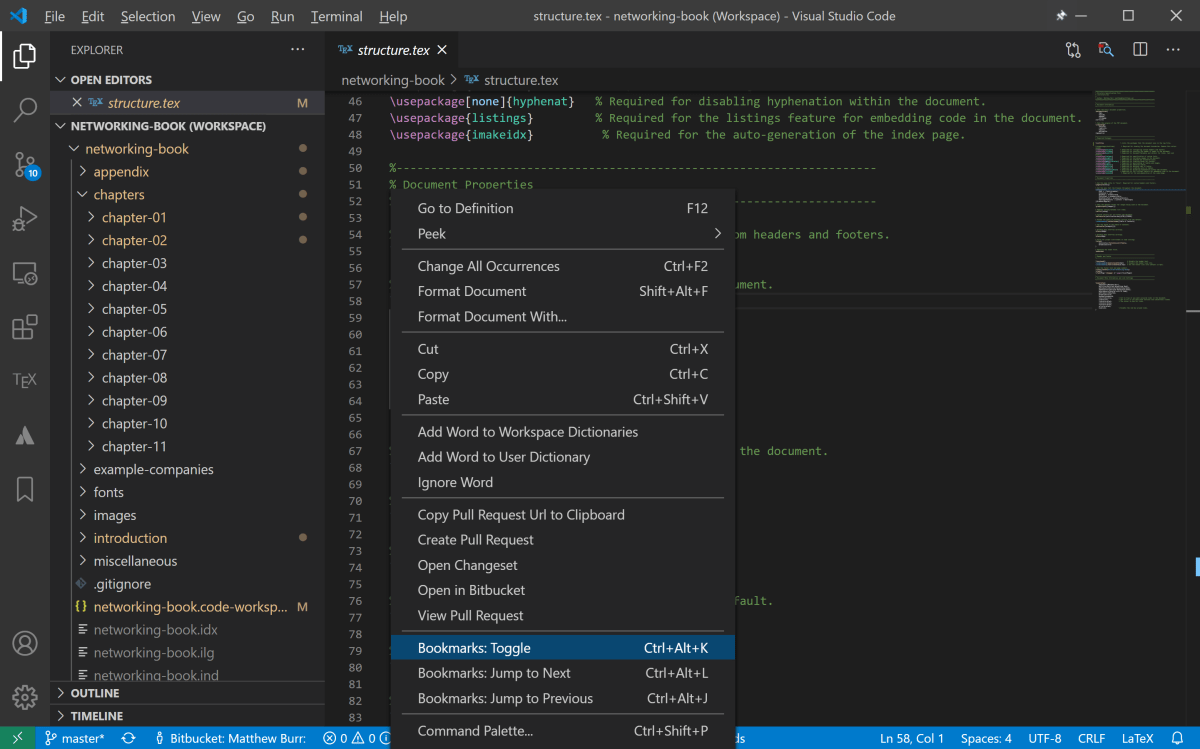
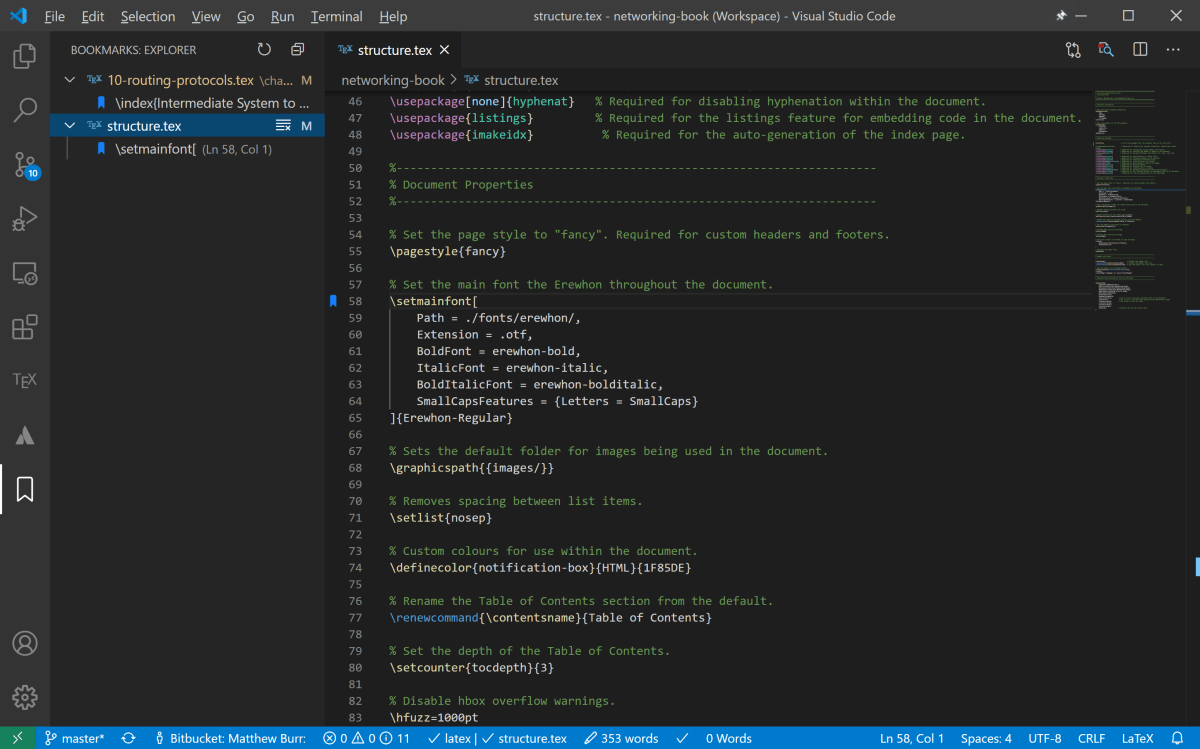
This extension makes it very easy to find your place (or places) within large and complex LaTeX documents by adding an additional section in the Visual Studio Code sidebar and adds a quick shortcut (CTRL+ALT+K) to add the bookmarks.
Code Spell Checker
The Code Spell Checker extension is a very basic spell checker extension which isn’t the greatest around, but allows you to quickly catch obvious spelling errors in your LaTeX documents. It also supports the ability to whitelist words and make exceptions as needed.
Jira and Bitbucket (Official)
I have been using Atlassian products since late 2009 and for many reasons I favour Bitbucket over GitHub. At the end of the day it is all Git, so the hosting provider makes no real difference to me, I only like Bitbucket because it integrates with all of the other Atlassian products that I also use alongside it. Atlassian provides an official plugin for Bitbucket in the Jira and Bitbucket (Official) extension, which provides excellent integration with Visual Studio Code. It works even better when you also use the Sourcetree application from Atlassian. If you don’t use Jira you can disable that functionality if you want.
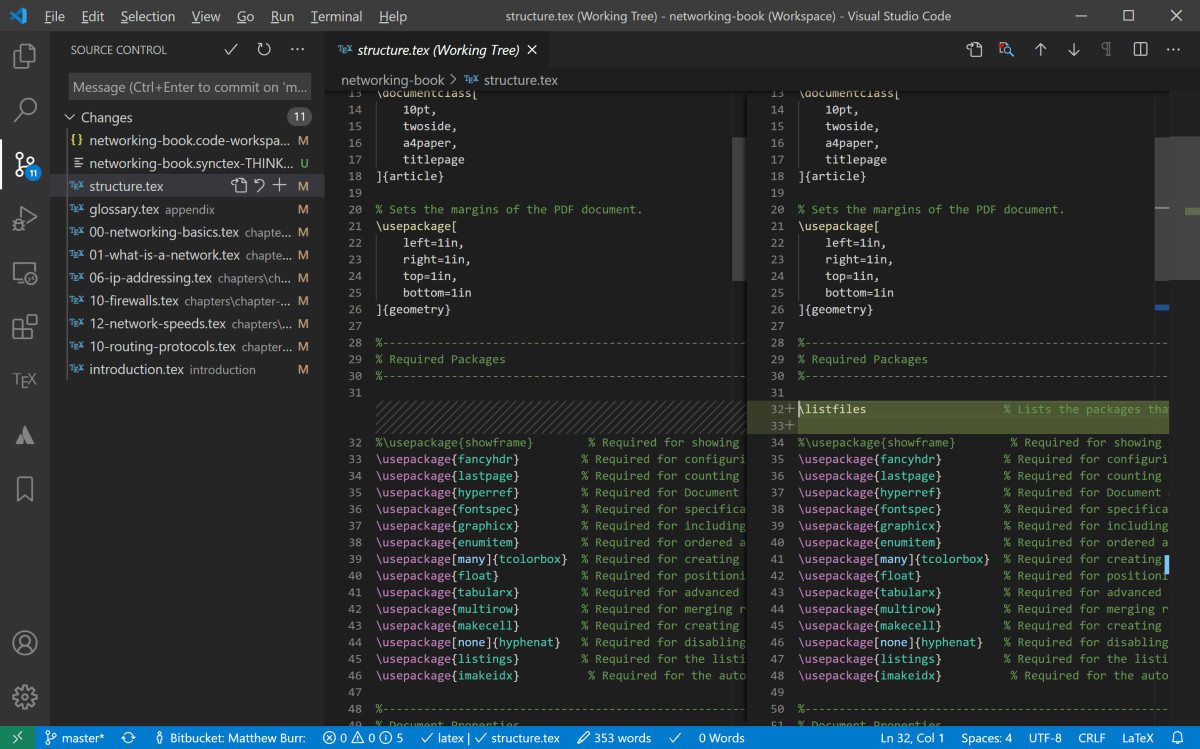
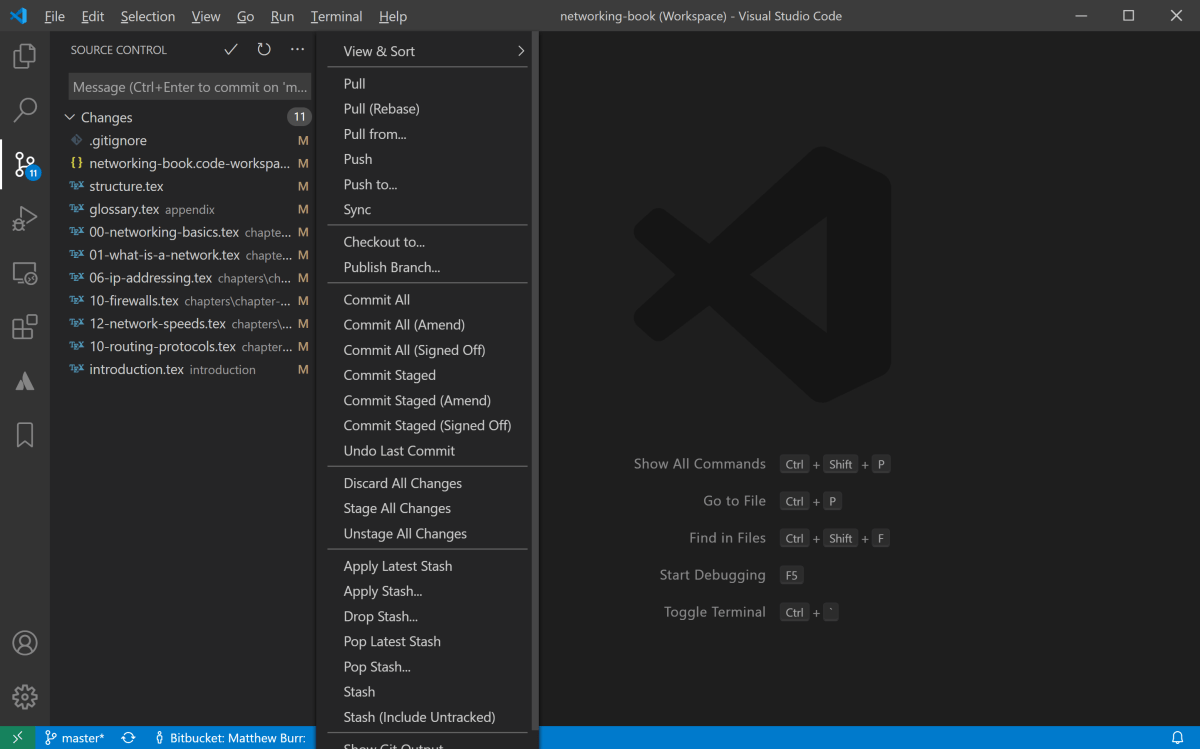
The extension allows the ability to view changes and make commits to Bitbucket directly from VS Code.
latex-count
The latex-count extension is a basic extension that is able to get a more accurate word count within your LaTeX documents. It does this by ignoring all of the LaTeX markup and comments within a LaTeX document to give a mostly accurate word count. It shows the word count in the footer of the VS Code window.
Additional Configuration
There are a few additional configuration tasks that can be completed in order to further customize the LaTeX environment in Visual Studio Code.
Customize the LaTeX Compiler
The recipe system that LaTeX Workshop uses for compiling your documents is very powerful and allows you a lot of control over the way documents are generated. This is the proper way to generate your documents, but if you don’t want to go to the trouble of modifying the recipes there is a way to specify the compiler within the LaTeX document.
For example, if you want to use XeLaTeX for your document you can just add this line at the top of the root document:
% !TEX program = xelatex
This method is not preferred, but it is available if you need it. For more information on this you can refer to the documentation at the LaTeX Workshop site:
https://github.com/James-Yu/LaTeX-Workshop/wiki/Compile
Git Exceptions
If you use Git for your LaTeX document management there are a few extensions that you can add to your .gitignore file to keep them our of your repository. In my opinion these extensions don’t need to be committed:
*.aux
*.fdb_latexmk
*.fls
*.gz
*.idx
*.ilg
*.ind
*.log
*.out
*.pdf
*.synctex.gz
*.synctex(busy)
*.toc
*.xdv
Remove Extra Files from VS Code Explorer
There are a few LaTeX and other files that you can exclude from the VS Code Explorer view if you don’t want to see them while you are working on your project. The files.exclude setting can be used to remove extra LaTeX documents from the file manager to make it easier to filter through entries. If you use Git you can also remove extra files and folders as well.
If you open your Workspace Settings and search for files.exclude, there are a few entries that you can add (add additional ones if you feel you don’t need to see them):
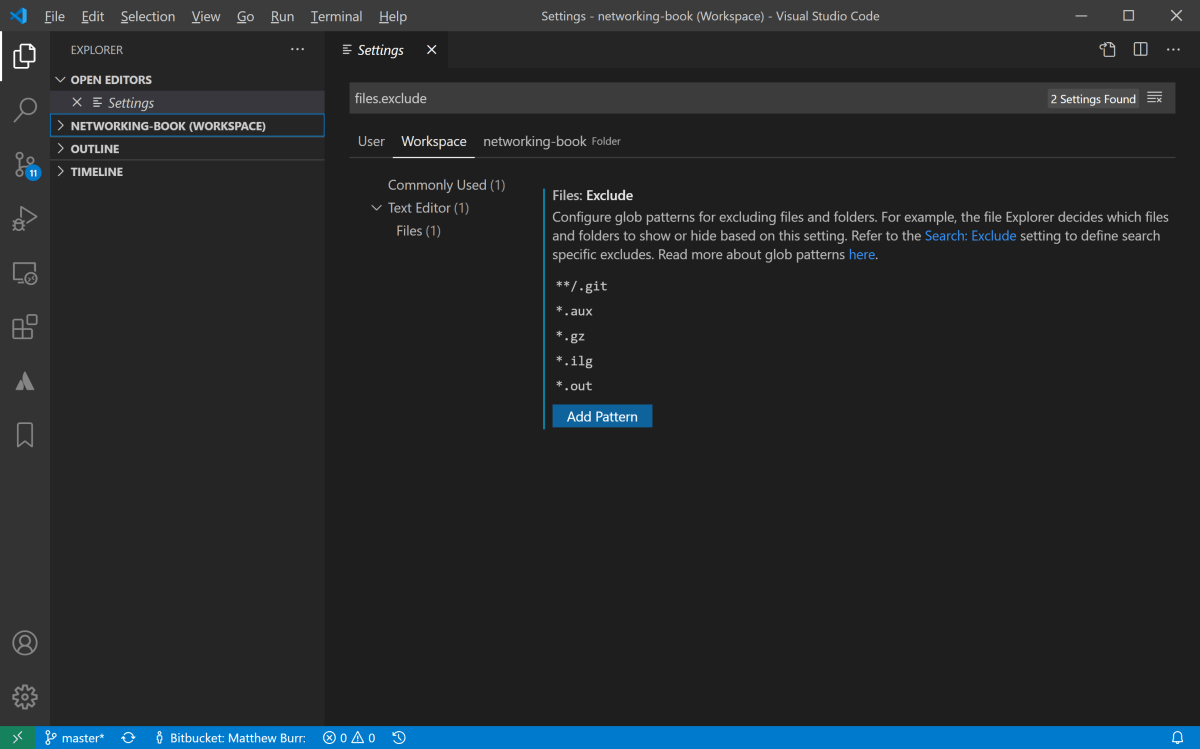
The files and folders that I always exclude are:
**/.git
*.aux
*.gz
*.ilg
*.out
Default PDF Viewer
You can customize the way that the PDF file that is generated is displayed when you compile your LaTeX documents. The setting can be found in the LaTeX Workshop Settings under the Latex-workshop > View > Pdf: Viewer option. There are a few options available:
- none - You will be prompted to select where to display the PDF file every time you try to view it.
- browser - Opens the PDF in the default web browser.
- tab - Shows the PDF in a side-by-side tab in the VS Code window.
- external - Runs a custom command to view the PDF file.
Backing Up and Synchronizing VS Code Extensions
I am certain that this is probably not the best way to do this, but it works well for me so do this at your own risk. If you are like me and use OneDrive to synchronize and backup your files between multiple computers, you may want your VS Code environment to be the same between those devices. You can synchronize VS Code settings by moving the .vscode directory in the root of your user profile to your OneDrive folder so that it is automatically backed up and synchronized. There is an extension called CodeSync that is supposed to do this for you automatically, but I haven’t had much luck with it.
I have found that the easiest method to accomplish this is to just use the symbolic link feature within Windows to move the folder elsewhere. This method doesn’t require any changes to the VS Code settings or anything else. There are other ways to do this, one method being the –extensions-folder option in the VS Code executable, but I find the symbolic link feature to be much easier.
To add a symbolic link, move the .vscode directory to a directory in your OneDrive folder (rename it if you want to) and run a command like this to create the link (update the paths for your computer obviously):
c:\Users\Matthew>mklink /d "C:\Users\Matthew\.vscode" "C:\Users\Matthew\OneDrive\Documents\VS Code"
If the command runs correctly you should see this output:
symbolic link created for C:\Users\Matthew\.vscode <<===>> C:\Users\Matthew\OneDrive\Documents\VS Code
Once this has been completed you should have the same extensions and settings between multiple computers.