Goodbye WordPress, Hello Hugo
I have spent the last few days performing the migration from WordPress to Hugo and I think the change went fairly well considering some of the incompatibilities between the platforms. I wanted to write about the migration process from one platform/hosting provider to another, and the reasons why I wanted to make the change in the first place. Overall, the migration to Hugo went fairly well without too many major issues. There were some problems encountered along the way, but I was able to overcome them and complete the migration successfully.
Table Of Contents
WordPress
When I decided to start this website a few years ago I was in the middle of an important contract role that was taking up a lot of my time. I had been putting off creating a website for some time, and I just wanted to get started as I kept delaying it and making excuses. I wanted to create a new website without having to worry about the details of setting up a new server, web server applications, databases, CMS software, and most importantly, configuring everything securely. Not that any of this was a problem for me, because that is part of what I do for a living. The major issue was that I dealt with things like that all day at work and I didn’t want to bother with that for a personal project.
I looked at several CMS solutions, and I ultimately decided to go with WordPress for the CMS, and use WordPress.com for hosting it. A simple, but ultimately complicated solution that I am willing to admit caused issues in the long run.
Why WordPress?
Choosing WordPress for the CMS seemed like a very easy decision to make at the time, and I went with WordPress for a couple of reasons:
- It was simple and easy to use.
- There was a very limited learning curve.
- It was the most popular CMS, which means that it is the best supported.
- There were countless themes and plugins to pick from.
- It was a mature platform that is constantly being updated.
- It was portable, and I could easily move between hosting providers.
- It was Open Source.
I never cared about the whole Classic to Gutenberg conversion on the WordPress default editor, as that conversion happened while I was “new” to WordPress. I still have no idea what the issue was that people were having, and why it was controversial.
Once I had settled on using WordPress for my website, I had to pick somewhere to host it.
Why WordPress.com?
I decided to use WordPress.com to host my website instead of other hosting providers. Finding a host for a WordPress website is not an issue, I could probably throw a rock out of my window and hit a hosting service that could do it. I wanted something that was easy to setup and maintain, and I wanted the hassle of managing the backend server and software to be handled by someone else. I wanted a hosting provider that would keep everything up-to-date for me and provide things like analytics without requiring additional add-ons and configuration changes.
WordPress.com also supported custom themes and plugins, which was important to me as I wasn’t quite sure what the website would require, so I wanted to cover every option just in case.
What’s Wrong With WordPress.com?
There were some downsides to using WordPress.com as a hosting provider, and that was mostly the cost of the service and the speed of the service. It is very expensive to host a basic website with basic customizations (themes, plugins, etc), and unlocking basic customizations seemed like a rip-off to me. My website also seemed slow and unresponsive to me on multiple locations, and that seemed unacceptable to me for virtually static content that didn’t change. I would occasionally get alerts that the site was unresponsive or had high packet loss, which to me was unacceptable. I also utilized Cloudflare to try and alleviate the issues, which worked to a degree, but that is unacceptable to me.
I also ended up not using a lot of WordPress plugins for multiple reasons. I felt like the plugins were not easy to customize, and the feedback plugins were absolutely terrible. I received dozens of bogus messages per day that were an absolute waste of time to sort through and answer questions from.
I was also not a fan of the way that WordPress handled the media library. I found it very cumbersome to manage images and other media and images would randomly stop appearing for no reason. I found out while migrating from WordPress.com to Hugo that images that I had deleted were still online and accessible, despite not appearing in the media library. I am not sure if that is a bug specific to WordPress or the hosting provider, but needless to say I was very unimpressed.
Hugo
I looked at static site generators at the time when I chose to use WordPress for my website, including Jekyll, but at the time I decided that I wanted to go with something with less of a learning curve. After revisiting Hugo a few months ago, I realized that I just hadn’t put in enough time to get to understand how it worked, and I am certainly glad that I did, as Hugo was exactly what I wanted from the beginning. I ultimately chose Hugo and Netlify as the platforms for my website, and those reasons and details are explained below.
Why Hugo?
Hugo is a static site generator, which takes plaintext content (Markdown files) and outputs an entire static website whenever a change is made. The best way to summarize Hugo is that is it boring, simple, fast and has very little overhead. It uses the Go programming language, which is insanely fast and easy to work with. It is also designed to be easily deployed without requiring complex dependencies, and supports automated deployments with Git. This means that you can stage your changes to your website on your local computer, commit your changes to Git, and those changes are automatically deployed to your website if the hosting platform supports it.
Other reasons why I wanted to go with Hugo included:
- Deploys static websites with all content.
- Uses source control software.
- Uses Markdown, which is very simple and easy to use (you can also use HTML if needed).
- Very customizable.
- It is Open Source.
The other benefit is the ease of use for creating content for my website. So much of my daily workflow is already in VS Code and Git, so moving my website to that was a no-brainer to me. It is incredibly easy to write content, test it, and deploy it, as it should be for anything.
Why Netlify?
One of the ways to deploy websites created with Hugo is to use Git and third-party hosting services such as GitHub Pages or Netlify. These platforms, combined with Hugo and Git, allow for automated and rapid deployments that use these solutions. I ultimately settled on using Netlify since I use Atlassian Bitbucket as my main Git hosting provider. Netlify offers free tiers, analytics, custom domain names, DNS hosting and SSL encryption, so using it was not an issue for me.
Hugo and Netlify Workflow
A typical workflow for deploying a new post using Hugo and Netlify typically looks like this:
- Create a new post using Markdown within VS Code.
- Test the new post using a local Hugo instance.
- Commit the new post to Git hosted on Bitbucket.
- Automatic redeployment using Git and Netlify.
- Verify that the post was published.
Static content such as images are easy to embed at the same time, and don’t require any additional consideration except for ensuring that the file path locations are correct.
Installing and Running Hugo
Installing and running Hugo is not difficult to do at all, and a complete Quick Start guide is available on the Hugo website. This guide is very well done and there should be no issues in getting Hugo up and running if you follow it. I have included below the steps that I used to get Hugo running for me on Windows 11. Hugo is very simple, it installs as a single executable file at around 50 MB in size.
I am providing instructions on how to install Hugo on Windows 11, but I have also installed and tested Hugo using macOS. I am in the middle of migrating everything of mine to the macOS platform, and I tested it on the M1 MacBook Air as part of my migration testing for Hugo.
Install Scoop
There are multiple ways to install Hugo using package managers that are available for modern versions of Windows. I decided to use Scoop, which is a package management tool that works on Windows 10 and Windows 11. The installation method for installing Scoop is not difficult, but will require the ExecutionPolicy to be temporarily modified to allow for the installer to work correctly:
Set-ExecutionPolicy RemoteSigned -scope CurrentUser
Once the ExecutionPolicy has been set, there is a single command that will install Scoop:
Invoke-Expression (New-Object System.Net.WebClient).DownloadString('https://get.scoop.sh')
If there were no issues with the installation, it should complete quickly:
PS C:\Users\Matthew> Invoke-Expression (New-Object System.Net.WebClient).DownloadString('https://get.scoop.sh')
Initializing...
Downloading scoop...
Extracting...
Creating shim...
Downloading main bucket...
Extracting...
Adding ~\scoop\shims to your path.
'lastupdate' has been set to '2021-12-22T12:18:21.9841605-05:00'
Scoop was installed successfully!
Type 'scoop help' for instructions.
As part of the installation of Scoop, it should automatically add the Scoop directory to your PATH variable, which makes it much easier to run programs that you download and install (you may want to logout and login again to ensure that it is added correctly):
PS C:\Users\Matthew> $env:path -split ";"
C:\Windows\system32
C:\Windows
C:\Windows\System32\Wbem
C:\Windows\System32\WindowsPowerShell\v1.0\
C:\Windows\System32\OpenSSH\
C:\Program Files\Git\cmd
C:\Users\Matthew\scoop\shims
C:\Users\Matthew\AppData\Local\Microsoft\WindowsApps
C:\Users\Matthew\AppData\Local\Programs\Microsoft VS Code\bin
Install Hugo
Installing Hugo can be performed using a single command:
PS C:\Users\Matthew> scoop install hugo
Installing 'hugo-extended' (0.91.1) [64bit]
hugo_extended_0.91.1_windows-64bit.zip (16.1 MB) [============================================================] 100%
Checking hash of hugo_extended_0.91.1_windows-64bit.zip ... ok.
Extracting hugo_extended_0.91.1_windows-64bit.zip ... done.
Linking ~\scoop\apps\hugo-extended\current => ~\scoop\apps\hugo-extended\0.91.1
Creating shim for 'hugo'.
'hugo-extended' (0.91.1) was installed successfully!
To validate that Hugo was installed, you can run a command to check the version that was installed:
PS C:\Users\Matthew> hugo version
hugo v0.91.1-F4235057+extended windows/amd64 BuildDate=2021-12-22T15:31:06Z VendorInfo=gohugoio
Running Hugo
I won’t go into the details on how to create a website with Hugo and install a theme, but it is fairly straightforward. Instructions on how to do this are included on the Hugo Quick Start guide.
One of the benefits of using Hugo over more complex solutions is the ability to quickly load your website and validate that things are working correctly. In this case, I can go right to the Git folder that has a copy of my website and run a local copy of the website:
hugo.exe server -D
The command runs Hugo (the -D option shows draft posts) and tells you which port it is running the web server on:
PS C:\Users\Matthew\Bitbucket\mjcb.io> hugo.exe server -D
Start building sites …
hugo v0.91.1-F4235057+extended windows/amd64 BuildDate=2021-12-22T15:31:06Z VendorInfo=gohugoio

                   | EN
-------------------+------
  Pages            | 133
  Paginator pages  |  18
  Non-page files   |   0
  Static files     | 207
  Processed images |   0
  Aliases          |  45
  Sitemaps         |   1
  Cleaned          |   0

Built in 1275 ms
Watching for changes in C:\Users\Matthew\Bitbucket\mjcb.io\{archetypes,content,static,themes}
Watching for config changes in C:\Users\Matthew\Bitbucket\mjcb.io\config.toml
Environment: "development"
Serving pages from memory
Running in Fast Render Mode. For full rebuilds on change: hugo server --disableFastRender
Web Server is available at http://localhost:1313/ (bind address 127.0.0.1)
Press Ctrl+C to stop
You can go to your web browser and view the website locally to validate your content before publishing the updated website. Whenever you make a change to the website content while the server is running, it will update and rebuild the website automatically:
Change detected, rebuilding site.
2021-12-22 13:44:03.167 -0500
Source changed "C:\\Users\\Matthew\Bitbucket\\mjcb.io\\content\\blog\\00039-goodbye-wordpress-hello-hugo.md": WRITE
Total in 153 ms
Some changes, such as changing menu items or changing the config.toml file may require restarting the service entirely.
So, It Was a 1:1 Conversion Right?
Yes and no, but it went well considering the differences between the platforms. I have performed migrations in the past that included database conversions and other complex changes, and those were always a real pain to get right and validate.
I was able to recreate the entire website hierarchy that I had on WordPress without any issues. I was able to duplicate the URL format that I used with WordPress, so none of the posts and pages had any changes to their URL.
I brought all of the images over, as well as any other media that I had hosted on WordPress.com. At the time I had around 40 posts, and they were very easy to convert to Markdown because I always wrote all of my posts in Notepad before putting them into the WordPress editor, so I didn’t really have to do much to convert the posts to Markdown. The Shortcodes available in Hugo made the embedded Twitter posts and YouTube videos easy to insert into posts. A simple find/replace in VS Code removed a lot of the unneeded WordPress items.
The WordPress theme that I was using was obviously not compatible, but I found a few themes on the Hugo Themes website that I liked. I went with the Clarity theme and made minor modifications to it.
The biggest issue I had was with the images that I had been using, I had to manually go through all posts and insert links to the correct images. I also had to correct things like URL references that they were using.
I probably spent around 6 hours converting everything and validating the changes, which in the long run isn’t that much of an issue. I took the opportunity to cleanup the number of tags that I was using, as I did not realize how excessive they were. I decided to put a cap of 5 tags to posts, anything more is just excessive in my opinion. I will utilize also categories more often as well to differentiate content.
Overall, the conversion was painless, worked perfectly and I am happy with the results.
Missing Features
I removed the contact page from the website entirely. There is no native functionality for supporting the forms and the email functionality, but there are third-party solutions if I really wanted it. There is also no native support for comments, but there are third-party solutions as well if that is required.
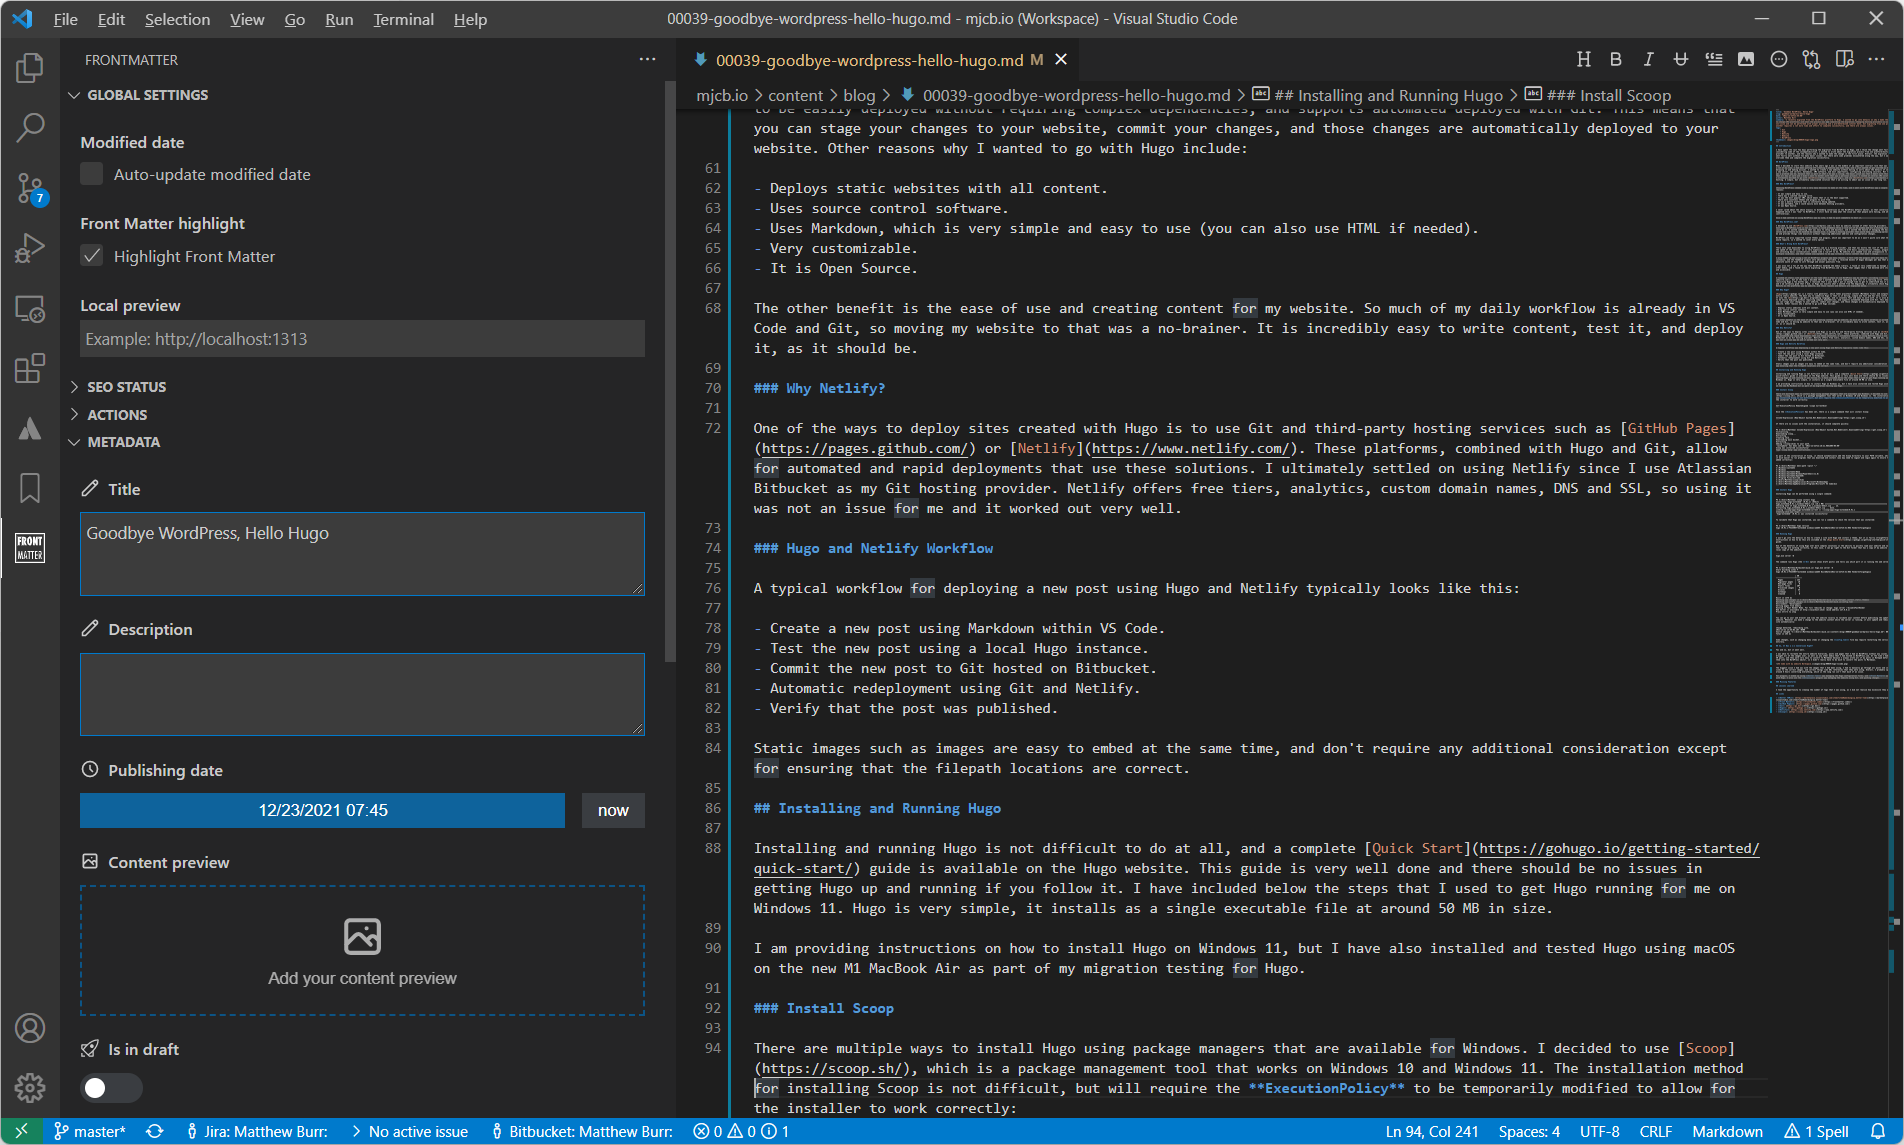
Using VS Code
VS Code is the perfect IDE in my opinion, and of course I use it for managing my website:

For extensions, I ended up using Better Toml for managing the Hugo configuration files, and Front Matter for working with Hugo. I also use the Atlassian extensions for managing the website using Git, and pushing changes that will then be published to Netlify.
Overall, VS Code and the extensions make managing a Hugo website very easy.
Conclusion
Hugo is an excellent option for creating static websites, and I was able to move from WordPress to Hugo without any major issues. My only issue with it was that I did not make the change earlier. I will very likely convert the Ten Fifteen Solutions website in the future, as it is the last website I am running that uses WordPress.